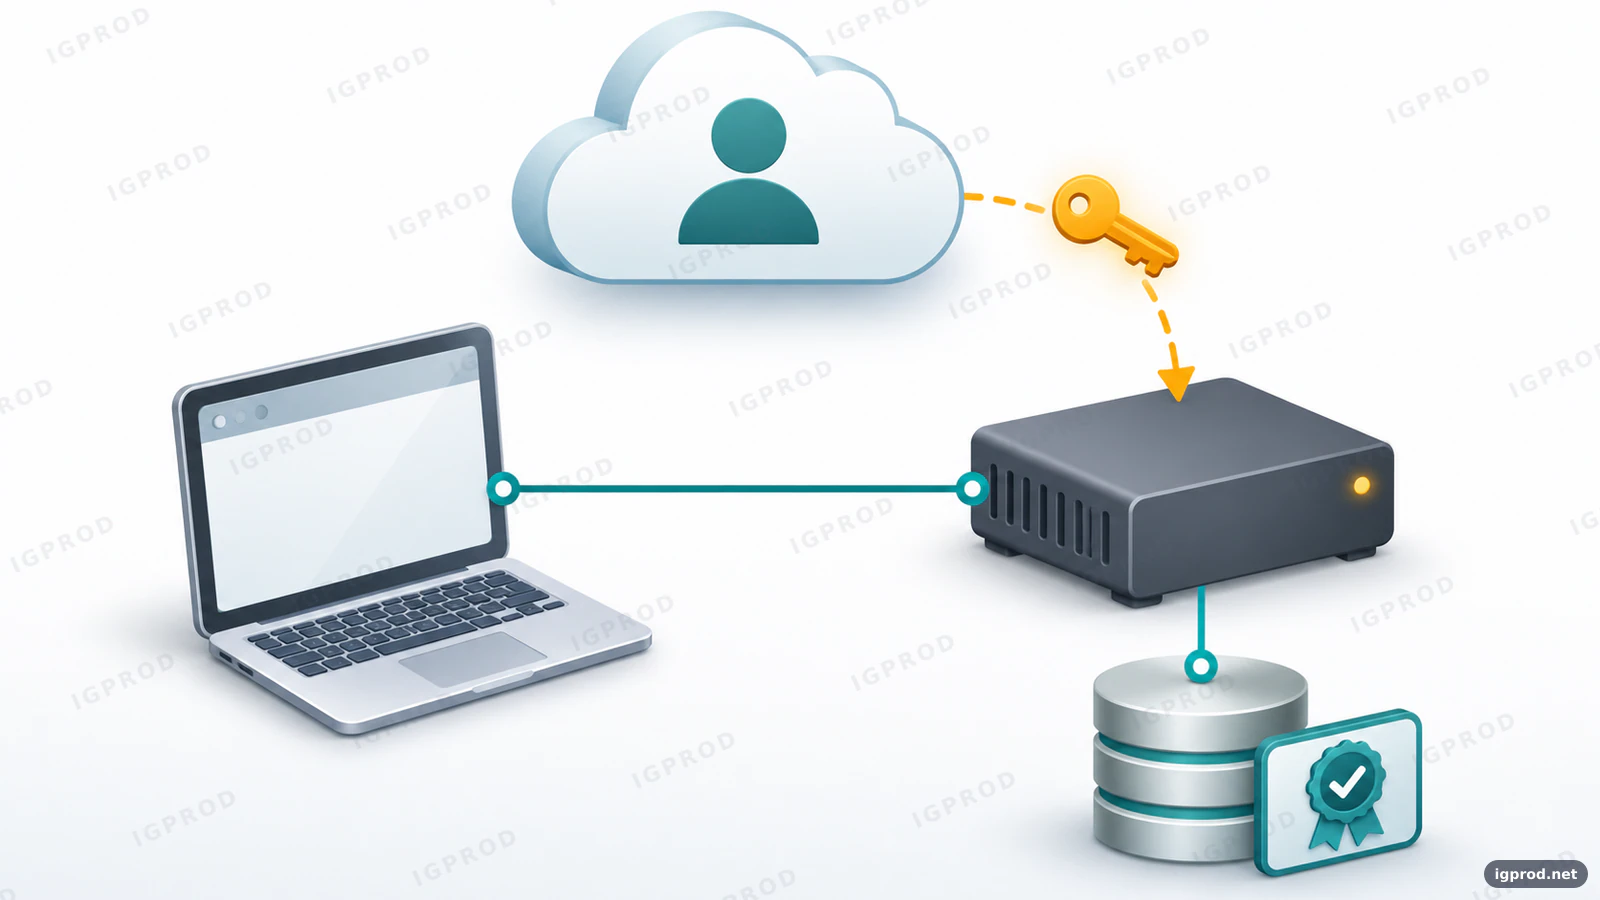
A Plex claim token is a short-lived code from plex.tv/claim that links Plex Media Server to your Plex account. For the official Docker image, put a fresh code in PLEX_CLAIM and start or recreate the container within four minutes. An existing Windows, macOS, Linux or NAS installation can instead use its supported local web sign-in route.
Have these ready before fetching a code:
- The Plex account that should own the server.
- A running Plex Media Server, or Docker Engine with the Compose plugin for the Docker route.
- Local administrator access and a browser on the same network, or SSH access to the server.
- Internet access from both your browser and the server, plus persistent storage for server configuration.
What is a Plex claim token?
Claiming means associating a server with your Plex account. The code starts with claim-; it is neither a Plex Pass license nor the authentication token used by API tools. Claiming does not require buying Plex Pass or automatically configure remote access.
The official Docker image exchanges the claim code for a server credential saved in its configuration. Keeping /config preserves that association when you recreate the container. The saved credential can still be invalidated, for example by account security changes.
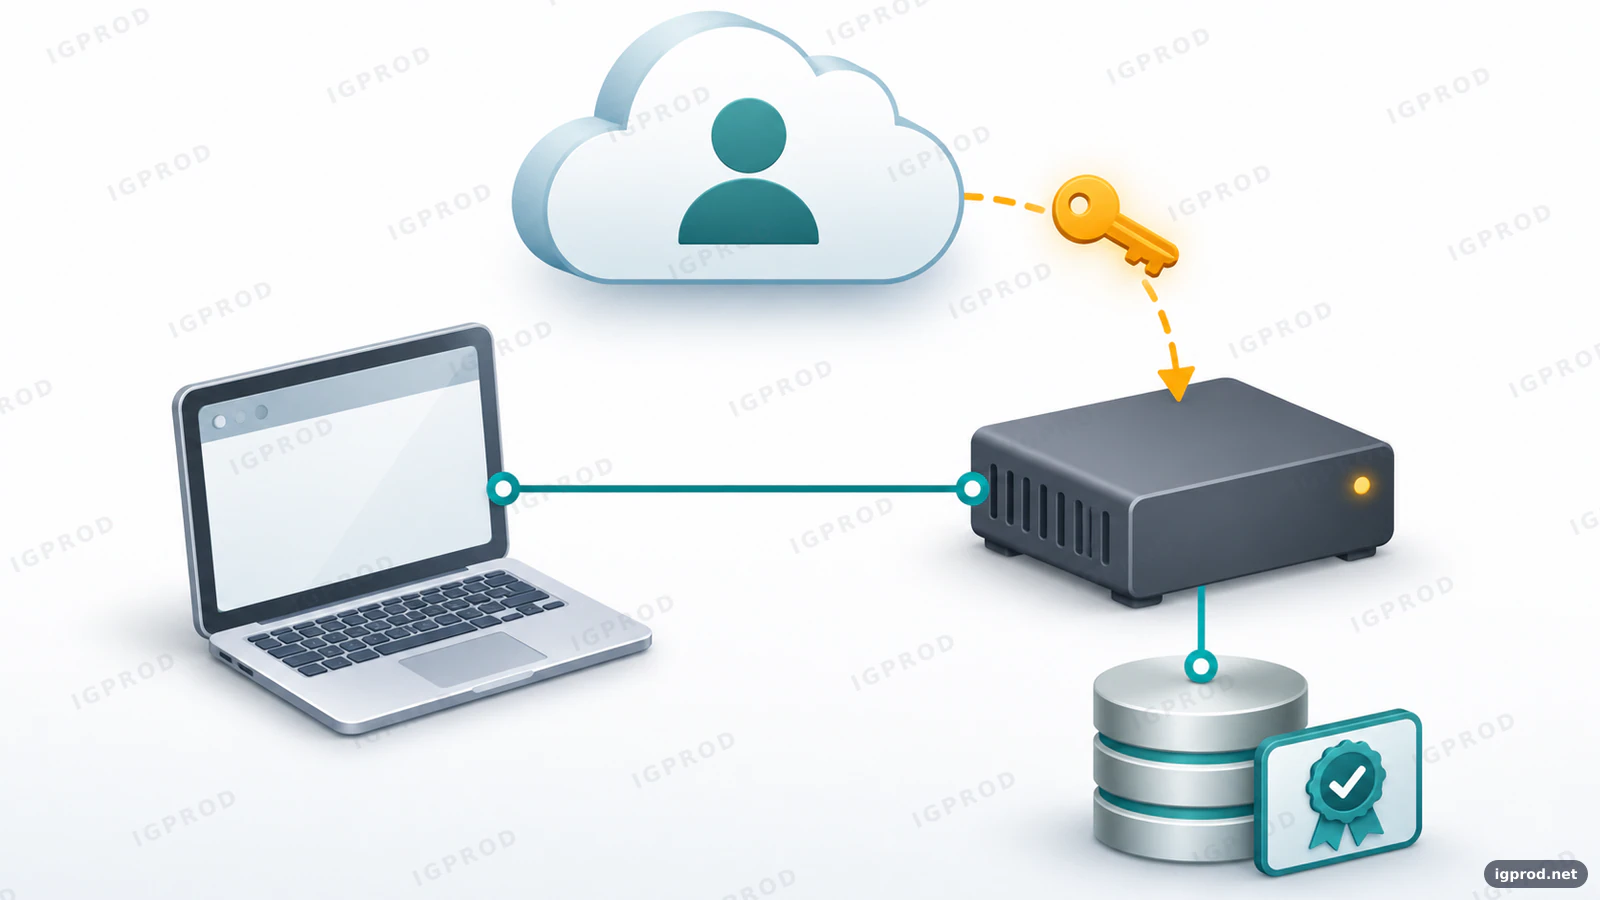
Choose the route for your installation: use Open Plex… for native Windows or macOS, the local web app for Linux or a NAS, or PLEX_CLAIM for the official Docker image. A server that is merely unavailable needs a connection check before any credential changes.
Claim an existing Plex server from its own web app
- Start Plex Media Server. On Windows, choose Open Plex… from the server's system tray icon. On macOS, choose it from the server's menu-bar icon. Your browser should open the server sign-in flow.
- For Linux or a NAS, open the bundled web app. On the server itself, visit
http://127.0.0.1:32400/web. From the same LAN, tryhttp://192.168.1.10:32400/web, replacing the example address with your server's address. You should reach Plex Web; if server settings are missing, use the local-access fallback below. - Claim the correct server. Open Settings, select the server in the sidebar, then General > Claim Server. An unclaimed-server notification may offer Claim it now. Sign in with the intended owner account.
- Confirm ownership. General settings should show the intended account associated with that server. Also check the identity endpoint below. A signed-in avatar in the web app alone does not establish server ownership.
These routes follow Plex's server sign-in instructions. Signing into the hosted app at app.plex.tv and signing the server into an account are separate actions.
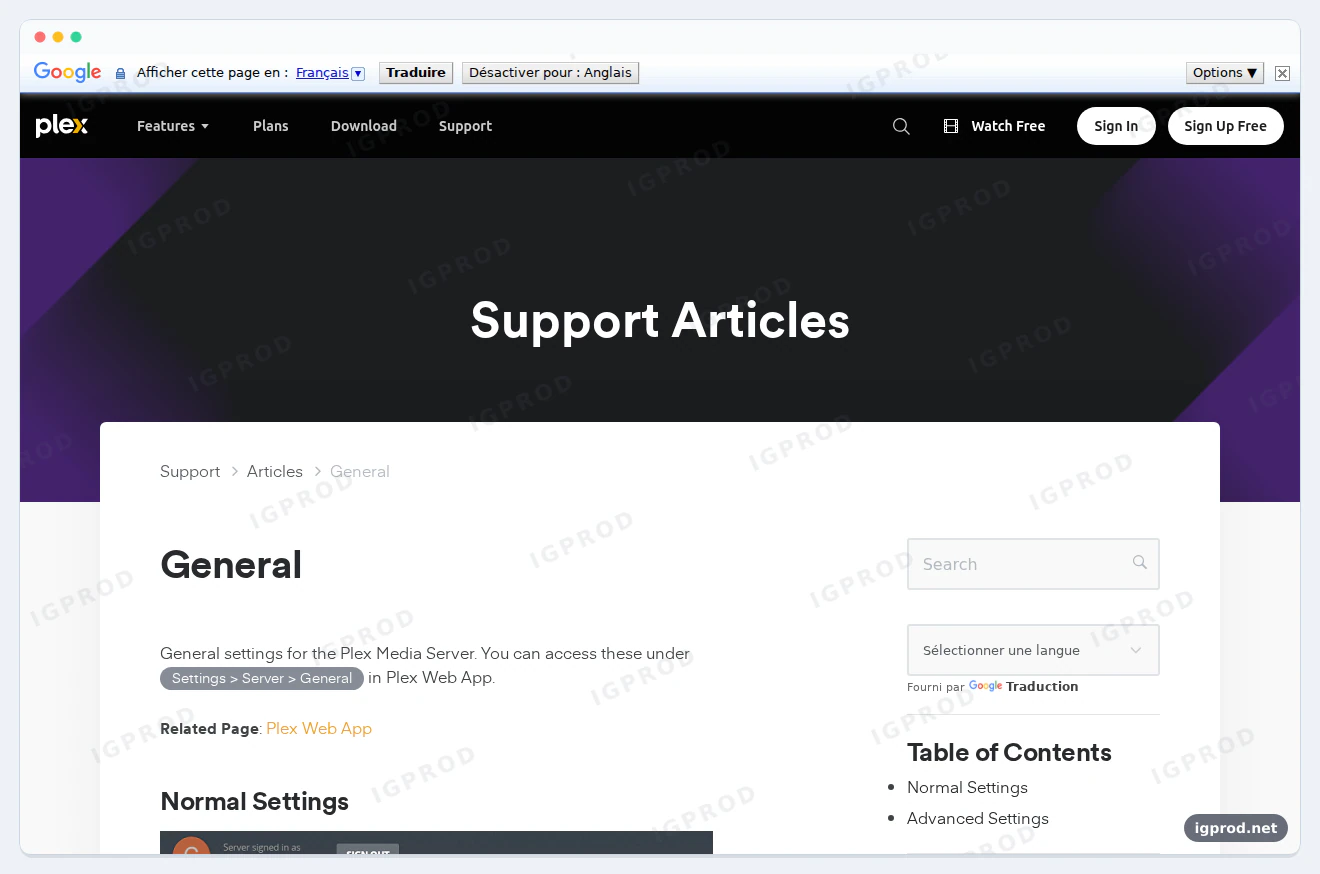
No server entry? Open the local app through SSH
- From your client computer, open an SSH tunnel to the machine running Plex Media Server. Replace the example user and address:
ssh -N -L 8888:127.0.0.1:32400 [email protected]- Leave that terminal open and visit
http://127.0.0.1:8888/webin your client browser. - Repeat the server's General > Claim Server flow. You should now reach Plex through the server's local connection.
The SSH destination must be the Plex host, and Plex must be reachable on its loopback port. Plex documents this approach for initial access across different networks or subnets; it does not enable permanent remote playback. NAS users can first follow our Synology SSH connection guide. For Docker, prefer the claim-variable route below.
Get a fresh Plex claim token at plex.tv/claim
- Prepare your configuration and finish downloading the Docker image first. The complete example follows.
- Sign into the Plex account that should own the server, then open https://www.plex.tv/claim.
- Copy the code beginning with
claim-. Keep it private. - Paste it into
PLEX_CLAIMand start or recreate the container immediately. Use it within four minutes, following Plex staff guidance.
If you were delayed, get a new code from the same page. Do not reuse an expired code or use a third-party token generator. The official page supplies Plex server claim codes; there is no separate general-purpose media-server claim-code request form needed for this process.
Use PLEX_CLAIM with Docker Compose
Compose describes a container in a YAML file; our Docker Compose introduction explains the basics. This example is for a new installation. For an existing Plex server, keep its current project and configuration mount so you do not create an empty replacement library.
On 12 November 2026, our offline Docker sandbox started plexinc/pms-docker:1.43.5.11079-b3b13e506, initialized configuration and passed a health check requiring an unclaimed identity response. Online sign-in, successful claiming and token expiration were not tested. The instructions for those actions come from official documentation and source inspection.
- Create a project folder. On the Docker host, run:
mkdir -p ~/plex
cd ~/plex- Save this complete file as
compose.yamlin that folder. Replace the example address inADVERTISE_IPwith the Docker host's LAN address. Leave the claim placeholder until the image has downloaded.
services:
  plex:
    image: plexinc/pms-docker:1.43.5.11079-b3b13e506
    environment:
      TZ: Etc/UTC
      # Replace just before starting; remove after verifying the claim.
      PLEX_CLAIM: "claim-your-fresh-code"
      # Replace with your Docker host's LAN address.
      ADVERTISE_IP: "http://192.168.1.10:32400/"
    ports:
      - "32400:32400/tcp"
    volumes:
      # Retain this volume: server settings and library database live here.
      - plex_config:/config
      - plex_transcode:/transcode
      # Empty example media storage; replace with your media mount later.
      - plex_media:/data
    restart: unless-stopped
volumes:
  plex_config:
  plex_transcode:
  plex_media:
The named configuration volume stores settings and the library database; the media volume starts empty. To use existing media later, replace plex_media:/data with your actual media mount, such as /volume1/media:/data:ro on a NAS. That path is an example, and the Plex process needs read access. Keep configuration on local storage supporting file locking.
Media libraries grow quickly. If you are still choosing the disks for that NAS, our Synology RAID calculator shows how much usable space each RAID type and SHR leaves you.
This bridge-network example publishes TCP 32400 for direct web/API access. It does not configure every discovery or DLNA feature. ADVERTISE_IP tells clients a reachable address; it does not claim the server or configure router forwarding.
- Validate the file and pull the image before fetching a token. Run:
docker compose config --quiet
docker compose pull
Successful validation prints nothing. Wait for the image download to finish; resolve any validation or pull errors first.
- Insert a fresh claim code. Get it from the official page, replace
claim-your-fresh-codein the file, save, then start:
docker compose up -d
docker compose ps
docker compose logs --tail=80 plex
The service should remain running. When the exchange succeeds, the official initialization script prints Token obtained successfully. A running container alone does not establish that claiming worked; verify the result next.
Alternative: use docker run
Use this instead of Compose. Pull first, then fetch the code and replace both example values before running the second command. Running both recipes would conflict on the published port.
docker pull plexinc/pms-docker:1.43.5.11079-b3b13e506docker run -d \
--name plex \
-p 32400:32400/tcp \
-e TZ=Etc/UTC \
-e PLEX_CLAIM=claim-your-fresh-code \
-e ADVERTISE_IP=http://192.168.1.10:32400/ \
-v plex_config:/config \
-v plex_transcode:/transcode \
-v plex_media:/data \
--restart unless-stopped \
plexinc/pms-docker:1.43.5.11079-b3b13e506The command returns a container ID; verify claiming below. The named volumes here belong to this alternative installation, not automatically to a Compose project's volumes. The official image also supports host networking on Linux, which can simplify discovery; changing network mode is unnecessary for this direct-access claim recipe.
Can Plex read the claim code from a file?
Yes. The official image supports PLEX_CLAIM_FILE when PLEX_CLAIM is empty. As an optional alternative, store the fresh code in ./secrets/plex-claim.txt, restrict it with chmod 600 ./secrets/plex-claim.txt, mount it read-only at /run/secrets/plex-claim, and set PLEX_CLAIM_FILE to that container path. Keep credential files and live claim values out of Git.
Check that Plex is claimed, then remove the code
- Query the server. From a computer on the same network, run this with your server's address, or open the URL in a browser:
curl -fsS http://192.168.1.10:32400/identityIn the XML response, claimed="1" means the server is associated with an account; claimed="0" means it is unclaimed. These are attribute examples, not a successful-claim transcript. The official identity API requires no authentication and also returns a server identifier, so avoid publishing its full output.
- Verify the owner. Open
http://192.168.1.10:32400/web, then the correct server's General settings. Confirm the account is yours. A claimed response does not identify which account owns it or prove remote access works. - Remove the bootstrap code. Delete the
PLEX_CLAIMline from Compose after verification, then apply the change:
docker compose up -dKeep the same configuration volume. The server uses its saved credential, not the original claim code. Our Synology container-update guide covers the related task of replacing containers while retaining data.
The line Plex Media Server first run setup complete does not prove a successful exchange: initialization can finish without a claim. If the success line is absent, check identity and General settings before diagnosing the cause. See our Docker logs guide for following startup output.
Fix an expired token, an unclaimed server or an unavailable server
The token expired, or restarting did not apply a fresh code
For an unclaimed Compose installation, get a new code, update PLEX_CLAIM, then run:
docker compose up -d --force-recreate plexDocker documents that compose restart does not apply edited environment values. The official Plex image also uses a first-run marker inside each container. Recreating applies the environment and reruns initialization while retaining mounted configuration. Stay in the same project; do not delete volumes or use docker compose down -v.
The server is unavailable, or Plex Web shows no server settings
- No response from the local URL: check that Plex is running, the host address is correct, TCP 32400 is published and the local firewall permits access. A claim code cannot start a stopped service.
- Web sign-in works but no server appears: use the bundled local web app, the correct owner account, and the SSH fallback if necessary. Hosted-app login alone is insufficient.
- Identity says claimed but the server is unavailable: check the owner account and local connectivity first. If local access works and remote access fails, investigate remote connectivity separately rather than clearing ownership.
A fresh claim code still fails
Check the Plex host's DNS resolution, outbound HTTPS and system clock. A working browser on another computer does not establish that the server can reach Plex. Incorrect time, VPN/proxy interference or HTTPS inspection can break certificate validation; inspect the actual error using Plex's claim-failure guidance and check Plex service status.
A reader report resolved repeated claim failures through DNS, and an official-image repository report describes a Kubernetes resolver problem. These support checking resolution, not applying one DNS override everywhere. Fix the underlying network or certificate issue instead of bypassing TLS checks or disabling authentication.
Reclaim your server after a password reset without deleting libraries
Signing out connected devices during a password reset can invalidate the server credential. The image skips its claim-code exchange while a saved server token exists, so a fresh PLEX_CLAIM alone may not repair that state. First try the correct owner's local sign-in; use this recovery only for a server you own and are locked out of.
- Stop Plex with
docker compose stop plex. - Back up the preferences file. In the official image it is
/config/Library/Application Support/Plex Media Server/Preferences.xml. Locate it through your existing configuration storage mapping. With named volumes, this is a container path, not a host folder to paste into File Station. - Follow Plex's recovery instructions to remove only the four account attributes and their values:
PlexOnlineHome,PlexOnlineMail,PlexOnlineTokenandPlexOnlineUsername. Preserve valid XML, all other settings, identifiers, databases and media. - Claim again. Save the file, insert a fresh claim code, then run
docker compose up -d --force-recreate plex. Verify identity and the owner account as above.
Use Plex's platform-specific recovery instructions for editing details. Native Windows uses registry settings and macOS uses a preferences plist; the Docker XML path does not apply to them. Never delete the entire configuration to repair account association.
Plex claim token vs X-Plex-Token: which do you need?
- Plex claim token: the short-lived
claim-code from plex.tv/claim, used to associate a server with your account. - X-Plex-Token: an authentication token used by API requests and compatible tools. It is not the value to paste into
PLEX_CLAIM. Plex describes the token obtained by its support method as temporary. - plex.tv/link code: a four-character player-app linking code. It is separate from server claiming.
How do I find my Plex token for an API or tool?
- Sign into Plex Web and open an existing library item.
- Choose Get Info, then View XML.
- Find the
X-Plex-Tokenparameter in the new tab's URL. Copy only its value into the trusted tool that requests it.
This is Plex's documented authentication-token method. If your server has no library items, complete library setup first. A tool asking for a “Plex API key” may mean this authentication token; check its instructions. Do not share the URL, token or Preferences.xml in screenshots or support posts.
FAQ
How long does a Plex claim token last?
Use a fresh claim token within four minutes. Prepare and download everything first; if delayed, obtain another code from plex.tv/claim. This guide did not measure the expiration timeout.
Can I claim Plex without a claim token?
Existing native installations can use the supported Open Plex or local-web sign-in flow. For the official Docker image, use its documented PLEX_CLAIM setup.
Do I need Plex Pass to claim a server?
No. Claiming associates the server with your account. It does not grant paid playback or subscription features.
Why is my Plex server still unclaimed after a restart?
A restart does not apply a changed Compose environment or rerun the official image's completed first-run initialization. Recreate with a fresh code, retain configuration, and verify the result. Network problems or invalid saved credentials can also prevent claiming.
Can I remove PLEX_CLAIM after setup?
Yes, after confirming the claim and intended owner. Remove the variable and apply the configuration while retaining /config, which holds the saved server credential.
Related guides
- Emby vs Jellyfin: if you are still choosing a media server.
Sources
- Plex: Sign in to Your Plex Account
- Plex: General server settings
- Plex: Installation and SSH access
- Plex: Official Docker image
- Plex: First-run claim implementation
- Plex staff: Four-minute claim-token guidance
- Plex Media Server API: Identity
- Docker Compose: up
- Docker Compose: restart
- Plex: Locked out of server settings
- Plex: Server cannot sign in or be claimed
- Plex: Account requires a password reset
- Plex: Finding X-Plex-Token
- Reader report: Claim failure resolved through DNS
- Official Docker repository: DNS resolver report, PR 138

Leave a comment
Your email address will not be published. Required fields are marked *